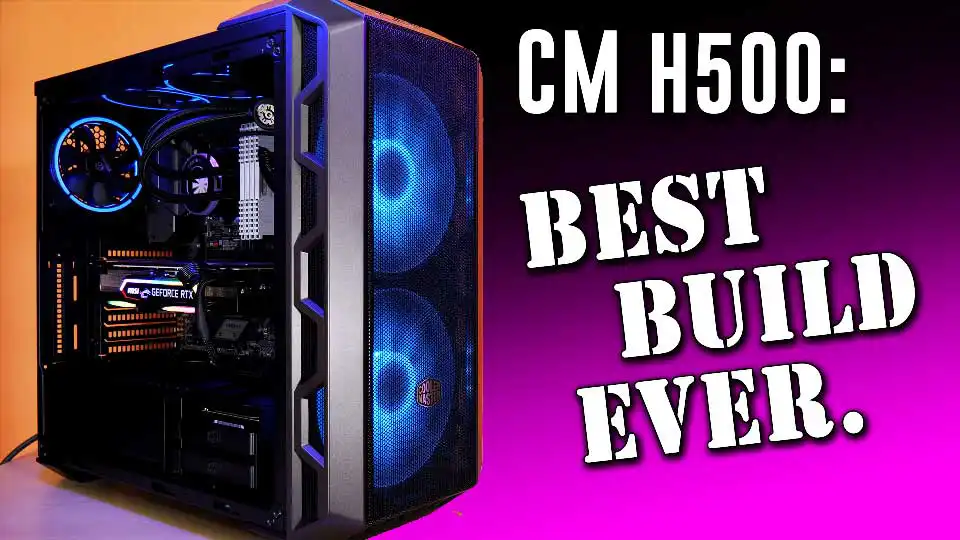
Have you wanted a longer case for bigger graphics cards? Really good filtered airflow? We found just the right case for you! Today we’ll be reviewing the Cooler Master H500, also called Mastercase H500, which comes with huge front fans, an RGB controller and other useful features we’ll get into in a bit. Does it provide a roomier interior? How about glass side panels? Customization options?
Ok, so the Cooler Master H500 is actually the fourth iteration in the “500” lineup, first was the H500P, which Cooler Master improved on with the H500P Mesh, then came the H500M which further took their learning experience to make a better case.
Now we have the mid-tower Cooler Master H500, no suffix, and where the previous cases come in at about 180 bucks, this case comes in cheaper at just 120 on Amazon, though you may find it cheaper depending on your country and availability. This case is really the culmination of several releases, leading to a case that’s slightly more compact, while not sacrificing space or build quality.
From sponsored links and as an Amazon Associate, we earn from qualifying purchases. Learn more
Please use our affiliate links for Cooler Master cases at:
AmazonUS: https://amzn.to/3V6LUfW AmazonUK: https://amzn.to/3W6Wx3n
AmazonCA: https://amzn.to/3W8SoMy AmazonIN: https://amzn.to/3V4OLpv
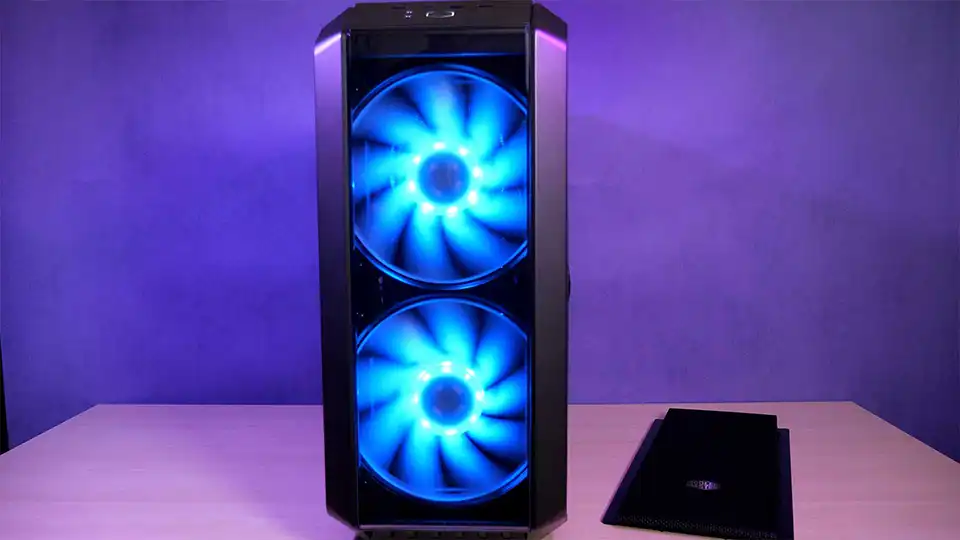
The H500 family all share similar design characteristics, notably the mesh filtered front with two huge 200 mil front intake fans. This case shaves down overall height while leaving a top bump with an integrated handle which has made moving it around the studio for filming and building in much easier.
Cooler Master H500’s deep front
Coming in this Iron Grey color, the sturdy steel body case measures 52.5 cms long by 22.8 wide, and a hair over 50 centimeters high. For those who prefer a shiny front, the Cooler Master H500 has you covered there, with an acrylic panel included in the box, with a fairly easy 8 screw swap. As you can see, looks impressive, and a good benefit for consumers for choice to customize their case.
And as you can see, the front has two big differences from other cases, first, it’s 6.5 centimeters deep, so lots of openings in the sides and bottom for air in case you do want to use the acrylic front panel, and the bottom of the front, which is often neglected, has a solid, rigid grill and mesh, which we really appreciate.

Secondly, the front panel isn’t tethered due to connectors or LED lights being attached. Moving everything to the top I/O panel means that working on the front is super easy. We usually have to be super careful when testing and building with a wired front panel as it can swing around getting damaged or pulling an LED wire almost to breaking. We didn’t have to worry about any of that with the Cooler Master H500. It’s a small thing, but makes building easier for consumers.
And taking the front panel off is easier than most other cases, using tabs, and stays on very well. Inside the front, the standout feature of this case is definitely the dual 200 mil RGB fans that come with a controller that can handle another optional 200 mil fan on the top panel too.
The front has support for 120, 140. 200, 240, 280 and 360 millimeter rads, plenty of options for your favorite AIO or custom water cooled solution here.
The Cooler Master H500 front I/O panel has connections for dual USB 3.0, two USB 2, HD audio jacks, this backlit power button, as well as a small reset button and hard drive access light. And the top has a removable magnetic dust filter which covers the 120, 140 and 240 mil radiator mounting points, or a single 200 mil fan.
H500’s Quality construction
We’ve reviewed quite a number of tempered glass cases on Techspin, so let’s get on to the side tempered glass, and there’s many improvements and features here. The 4 mil tempered glass is quite a bit longer than previous cases we tested at 38 centimeters, the Cooler Master H500 glass runs a hair under 45 cm long, which gives you a great viewport to show off your components.
And at just under 43 centimeters high, the bottom has a lip which fits onto the bottom rail making installation much easier. The top screws and held in by the rubber grommets, after loosening them with a flat screwdriver for the first time, it is possible to use just a finger and thumb to undo them.
Inside there’s a huge cutout in the motherboard tray for easy CPU cooler installation, with three rubber grommets stay in their spots well, and at the rear there’s a pre-installed 120 mil fan for exhaust.

Huge cutout for easy cooler install
One really great feature about this case is that everything you see inside is attached by screw and not rivets, so the vertical cable cover shroud, the hard drive bays, and even the power supply cover can be easily removed. This provides a room to work and options for your own setup, especially if you’re doing a custom water cooled loop. And we’re interested to know what you’d be planning for this interior, so let us know your ideal setup down in the comments.
In the standard wiring front I/O bundle also comes pre-attached a 3 way RGB splitter for attaching a 200 mil top RGB or other size RGB fan, very nice. Clearance on the back panel hits 24 millimeters, which is a great amount of room, and allowing for easy rear panel assembly after you’re done building your new rig, and due to the offset, putting in the dual ATX 8-pin wires a breeze, and I could even fit a 16 wire cable comb through, something I haven’t been able to do with any other case so far.

The accessory pack contains a mini button controller for the RGB which connects via SATA power, and we have a microfiber cloth for cleaning the glass panel, as well as a Molex to fan adapter, zip ties and screw package. The bottom has rubber feet and a smaller sized dust filter for the power supply intake. The dust filter has a tab, so after you push down a bit, it’s easily removable for cleaning.
For air filtering the top magnetic dust filter has small sized hexagons, small enough to work well as a dust filter, and it’s size is actually quite large, covering almost the whole top from side to side, first I’ve seen on a case though our studio.
The front has a larger hexagon style with this micro-mesh backing, which will really help reducing dust intake while still retaining a large amount of airflow.
There’s lots of channels covering the thermal results on this case already, and those results come in quite good, with the Cooler Master H500 posting in the top of each. We found the airflow quite good in our subjective opinion, and no problems with keeping components cool.
Hard drives are easy to access thanks to the lock and slide design, with mounts for SSDs if you want to go that route. Hard drives went in with the standard amount of work.

Sound levels were great
The rear panel has the standard 7 PCIe slots with I/O cutout, and a vertical GPU mount which won’t work with any powerful GPU, as there’s only one slot and it’s too close to the glass side.
That’s not necessarily a bad thing, as if you could put a two slot GPU right next to the glass, it would choke airflow anyways. Instead, Cooler Master offers a vertical display VGA holder with cable kit that takes over the 7 slot spacing, situating the card much further away from the glass side.
Sound levels were great with the Cooler Master H500, the large fans can push more air at a slower RPM and it measured 40 decibels, very good. Of course, after you deck it out with more fans and an AIO cooler your noise levels may go up a bit.
For the build, this is actually our main production PC, so we’ve got the MSI z390 Tomahawk and i9-9900K combo we’ve used in testing, we’ll drop the link for the Ryzen vs Intel video here.
On that we have an Enermax LiqFusion 240 AIO with front mounted radiator, and there’s 32 gigs of HyperX Predator DDR4 at 3200 megahertz with a Samsung NVMe m.2 500 gig system drive, and a Toshiba 6 Terabyte storage drive.
We’ve got an MSI RTX 2070 Super Gaming X Trio 8 gig with G-DDR6 memory installed, and this card is large, coming in at 32.5 centimeters long, which necessitated buying a longer case, and this review!
Finally the case is decked out with Enermax TB RGB fans that come with a controller, and can link up to Mystic Light or other RGB systems like ASUS’s Aura and more.
What can I say… this looks really incredible. I’m actually a bit speechless, in my personal opinion, this is probably the coolest looking case I’ve ever owned. Not only that, the common trade off between looks and easy to build doesn’t happen here, as putting in everything was a breeze thanks to the longer interior, and removable hard drive bay and PSU cover. Really, very very easy, and looks stunning.
Cooler Master H500 easy installation
So, first impressions of the Cooler Master H500 case were great, and we were not disappointed, with the findings that all three interior panels, the vertical cable shroud, hard drive caddies and most importantly, the PSU cover could all be easily removed. That provides not only a very easy installation process, but also if you like to customize your cases, there’s options for larger or aftermarket components that may have difficulty working around riveted-in pieces.
Fantastic for consumers, and with great pricing at between $110 to 120 dollars, we’re giving the Cooler Master H500 a Techspin Platinum award. It has excellent build quality, the extras like the pre-wired RGB splitter and bundled controller, and the extra long interior perfect for massive GPUs.
When you buy a case, you hope for a hassle free installation and we got that and more, here. Overall, it’s very impressive. We do have some small points that think could be improved, though, like the flat-head screwdriver required to take off the tempered glass panel, we would like to have seen thumb screws here. If you put on the side again with just fingers though, we were able to take it off again the same way, though the screws have no texture for grip.

And one tiny point, the Cooler Master H500’s rear panel thumb screws were attached so hard we had to use a Phillips screwdriver to loosen it, but after the first time, it was fine. Also we’d like to see the dust filter fully cover the bottom PSU intake, it covers about 95 percent but fully covered would be preferred, especially since Cooler Master’s attention to detail for mesh on the front and top panels has been so well done.
Some small points on an otherwise perfect case, as I really like the larger side window which showcases the internals. We actually ordered the case two weeks before making this video, and the case was moved around a lot actually using the handle and carefully grabbing the left side by the rear I/O cutout.
Big points go to Cooler Master for taking their improvements from the previous H500 model line in incorporating that into this case, which is actually the least expensive of their 500 line. Very good user-friendly experience, and if you pick one up, shopping through our affiliate links will help us here with no extra cost to you. And follow us on Twitter, Instagram and Facebook at techspinreview.
What are you looking for in a computer case? What’s your preference for ATX, E-ATX form factor support or full or mid sized towers? Join the discussion in the comments. Please take a second to hit Like, subscribe, the bell, and we often reply to your feedback so if you have a question, fire away. We really appreciate you watching this far, thanks for your time, and we’ll see you on the next. Bye for now.
See more Cooler Master, PC case, Monitor reviews